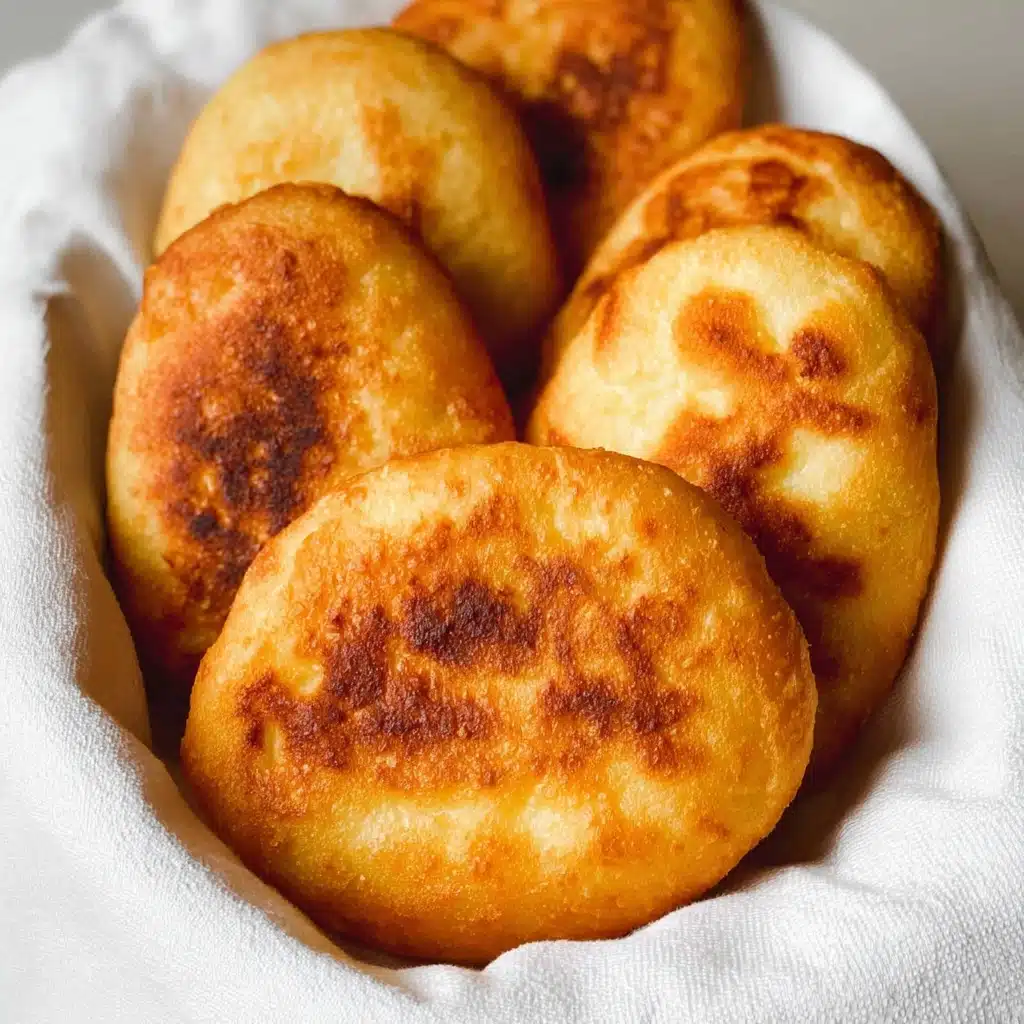
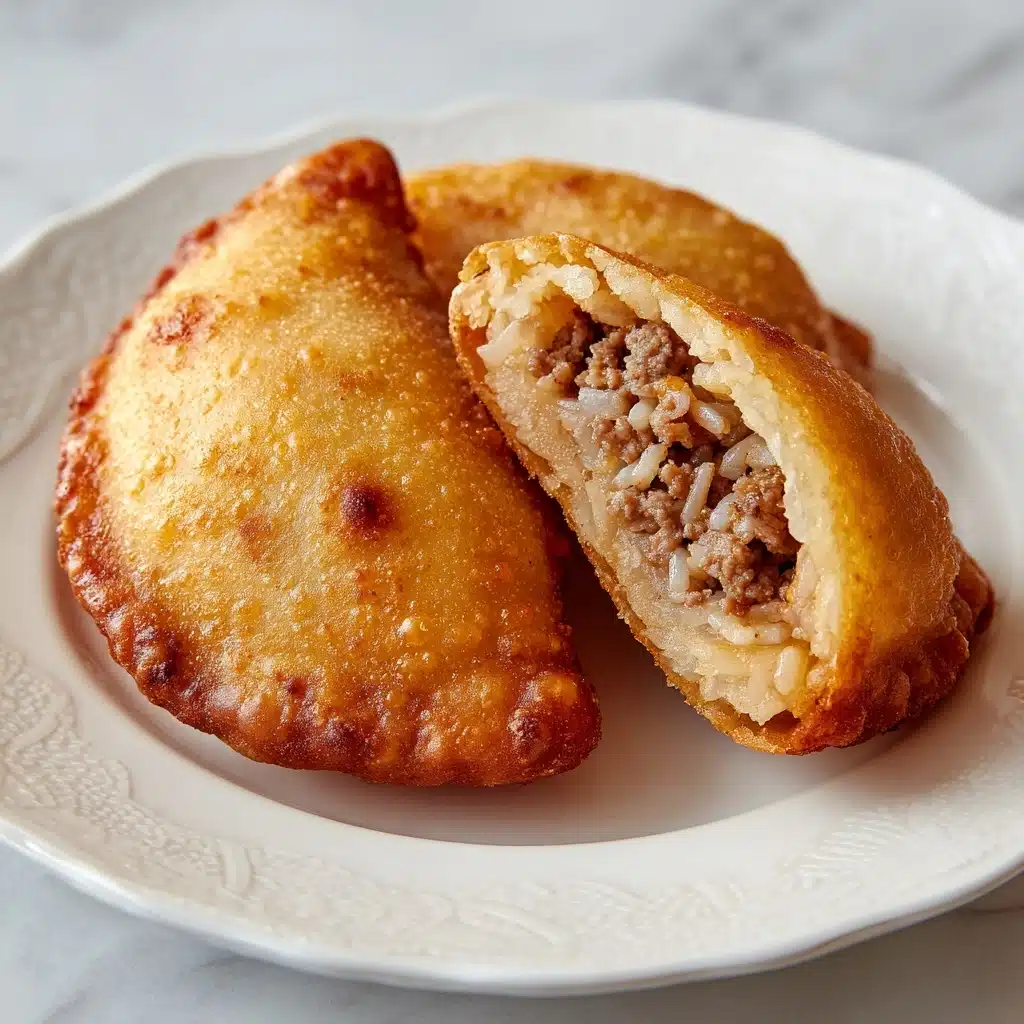
If you have never tried Piroshki (Russian hand pies), you are in for a truly delicious treat that feels like a warm hug from the inside. These golden, pillowy pockets stuffed with a savory mixture of beef, cabbage, carrot, and aromatic herbs combine a crispy, deep-fried exterior with a juicy, flavorful filling that’s utterly irresistible. Perfect for sharing, snacking, or even a comforting meal, Piroshki (Russian hand pies) bring a taste of traditional Russian comfort food straight to your kitchen, blending simplicity and rich flavors in every bite.
Ingredients You’ll Need
The beauty of this recipe lies in its straightforward ingredients—each one carefully chosen to build layers of flavor and perfect texture without fuss.
- Olive oil, 1 tbsp: Adds a subtle fruity flavor and helps soften the vegetables when cooking the filling.
- Butter, 10g: Enhances richness and gives the filling a silky mouthfeel.
- Brown onion, finely chopped, 1: Essential for a base of sweet and savory depth in the filling.
- Garlic cloves, crushed, 2: Brings a warm, aromatic kick that wakes up the entire dish.
- Beef mince, 300g: Provides hearty protein and savory fullness.
- Shredded savoy cabbage, 2 cups: Offers a slight crunch and freshness that balances the richness.
- Small carrot, peeled and coarsely grated, 1: Adds subtle sweetness and vibrant color.
- Fresh dill leaves, finely chopped, 2 tbsp: Gives a fragrant, herbaceous lift that unmistakably nods to Eastern European flavors.
- MasterFoods® Paprika Ground, 1 tsp: Introduces gentle smokiness and warmth.
- Vegetable oil, for deep-frying: Ensures the piroshki get that perfect, golden crispy crust.
- Plain flour, 450g (3 cups): The backbone of the dough, providing structure and softness.
- Salt, 1 tsp: Enhances all the flavors in both dough and filling.
- Dried yeast, 2 tsp (7g sachet): Leavens the dough, making it light and airy.
- Warm water, 310ml (1 1/4 cups): Activates the yeast and brings the dough together.
- Vegetable oil, 1 1/2 tbsp (for dough): Keeps the dough tender and easy to work with.
- Optional: vinegar, splash: Adds a subtle tang to balance the sweet and savory notes in the filling.
How to Make Piroshki (Russian hand pies)
Step 1: Prepare the Dough
Starting with the dough is key for creating those soft, pillowy hand pies. Combine the flour, salt, and dried yeast in a large bowl, then create a well in the center to pour in warm water and vegetable oil. Stir until just combined, then knead on a floured surface for about five minutes until your dough becomes smooth and elastic. Place it in a lightly oiled bowl, cover with a tea towel, and set it somewhere warm to rise until it doubles in size. This stage lets the yeast work its magic, giving you that light and airy texture that makes Piroshki (Russian hand pies) so special.
Step 2: Make the Filling
While your dough is rising, whip up the filling that brings these hand pies to life. Heat olive oil and butter in a pan, then gently sweat the onion and garlic until they soften and release their fragrant aromas. Add the beef mince, cooking it until nicely browned, then toss in shredded cabbage and grated carrot. Cook together until the cabbage wilts, allowing the vegetables to meld with the meat. Stir in fresh dill, paprika, and a splash of vinegar for a savory-sour balance. Season well, then transfer the mixture to a bowl to cool fully—this is important to keep your dough soft when assembling.
Step 3: Shape and Fill the Piroshki
Once your dough has had its second proving, turn it out onto a floured surface and shape it into a log. Divide into 16 equal pieces, rolling each into a disc shape. Spoon generous portions of the delicious beef mixture onto half of each disc, then fold over the other half to encase the filling and crimp the edges tightly to seal. This step transforms your dough and filling into individual parcels of joy, ready for that golden frying stage.
Step 4: Deep-Fry Until Golden
Heat vegetable oil in a deep pan or wok, enough to come halfway up the sides. When hot, carefully fry the piroshki in batches, turning occasionally for even, golden-brown crusts that puff up with irresistible crunch. This quick fry only takes a few minutes but creates the iconic crispy exterior that perfectly contrasts with the tender filling inside. Drain on paper towels, and they’re ready to serve hot and fresh.
How to Serve Piroshki (Russian hand pies)
Garnishes
A sprinkle of fresh dill or chopped parsley on top complements the herbaceous filling while adding a burst of color. A dollop of sour cream or a side of tangy mustard can amp up the flavor palette, inviting each bite to be more exciting and authentic.
Side Dishes
Piroshki go beautifully with a crisp cucumber salad or a beetroot slaw, providing freshness and crunch as a foil to the rich, fried pastry. A simple bowl of borscht also pairs wonderfully for a full-on Russian-inspired feast.
Creative Ways to Present
Try serving Piroshki (Russian hand pies) as part of a shared platter with various fillings, meats, and vegetarian options for a fun, interactive experience at parties or family gatherings. You might even add a sprinkle of toasted seeds on top before frying for an unexpected crunch and extra personality.
Make Ahead and Storage
Storing Leftovers
Leftover Piroshki can be stored in an airtight container in the fridge for up to three days. They make a fantastic next-day snack or lunch, with flavors that often deepen after resting.
Freezing
To freeze, flash freeze the uncooked pies on a tray before transferring them to a freezer-safe bag. This prevents them from sticking together and lets you cook just the amount you want later. They keep well for up to two months.
Reheating
For the best texture, reheat refrigerated or thawed piroshki in a hot oven or air fryer until heated through and crisp again. Avoid microwaving as it can make the pastry soggy.
FAQs
Can I use different fillings for Piroshki (Russian hand pies)?
Absolutely! While beef and cabbage is a classic, Piroshki are versatile and can be filled with mushrooms, potatoes, cheeses, or even sweet fillings like jam if you want to mix things up.
Is deep frying necessary or can I bake these instead?
Deep frying gives Piroshki their characteristic crispy exterior, but you can bake them for a lighter version. Brush them with oil or egg wash and bake until golden, though the texture will be different.
How long does it take to make the dough from start to finish?
Including proving times, the dough takes about 1 hour and 30 minutes. This time is essential to develop the perfect soft, airy texture.
Can I make the dough in advance?
Yes, you can prepare the dough a day ahead and refrigerate it. Let it come to room temperature and rise slightly before shaping and filling your Piroshki.
What type of cabbage works best for the filling?
Savoy cabbage is preferred for its tender leaves and mild flavor, but green cabbage is a fine substitute if that’s what you have on hand.
Final Thoughts
Making Piroshki (Russian hand pies) at home is such an incredibly rewarding experience. From mixing that silky dough to savoring those golden fried pockets bursting with flavorful filling, this recipe is a celebration of tradition and comfort food at its finest. Whether for a cozy night in or a festive gathering, these hand pies are sure to become a beloved favorite—you really must try them and see just how magical simple ingredients can be.
Print
Piroshki (Russian hand pies) Recipe
- Total Time: 1 hour 50 minutes
- Yield: 16 piroshki
- Diet: Halal
Description
Piroshki are traditional Russian hand pies filled with a savory beef and cabbage mixture. These golden, deep-fried pastries have a soft yet slightly crispy dough exterior encasing a juicy, flavorful filling of minced beef, cabbage, carrots, and fresh dill, seasoned with paprika for a mild smoky warmth. Perfect as a snack, appetizer, or light meal, this recipe guides you through making the tender yeast dough from scratch and preparing the delicious filling before frying to golden perfection.
Ingredients
Dough
- 450g (3 cups) plain flour
- 1 tsp salt
- 2 tsp (7g sachet) dried yeast
- 310ml (1 1/4 cups) warm water
- 1 1/2 tbsp vegetable oil
Filling
- 1 tbsp olive oil
- 10g butter
- 1 brown onion, finely chopped
- 2 garlic cloves, crushed
- 300g beef mince
- 2 cups shredded savoy cabbage
- 1 small carrot, peeled, coarsely grated
- 2 tbsp finely chopped fresh dill leaves
- 1 tsp MasterFoods® Paprika Ground
- 1 tbsp vinegar (Note: vinegar mentioned in steps but missing in ingredients; assumed 1 tbsp)
- Vegetable oil, for deep-frying
Instructions
- Make the Dough: In a large bowl, combine the plain flour, salt, and dried yeast. Create a well in the center and pour in the warm water and vegetable oil. Stir until just combined. Turn the dough onto a lightly floured surface and knead for 5 minutes until smooth and elastic. Place the dough in a lightly oiled bowl, cover with a clean tea towel, and set aside in a warm, draft-free place for 1 hour or until it doubles in size. Punch down the dough and knead for another 2 minutes until smooth. Return to the bowl, cover, and let it prove again for 30 minutes.
- Prepare the Filling: Heat olive oil and butter in a large frying pan over medium-high heat. Add the finely chopped onion and crushed garlic and cook, stirring, for 3-4 minutes until the onion softens. Add the beef mince and cook for 2-3 minutes, breaking it up with a wooden spoon until browned. Stir in the shredded savoy cabbage and grated carrot and cook for another 2-3 minutes until the cabbage wilts. Add the chopped fresh dill leaves, ground paprika, and vinegar, cooking for an additional 2 minutes. Season the mixture well with salt and pepper, then transfer to a large bowl and let it cool completely.
- Shape the Piroshki: Turn the dough onto a lightly floured surface and knead for 1 minute until smooth. Shape the dough into a 30cm-long log and cut it into 16 equal portions. Working with 4 portions at a time while keeping remaining portions covered with a tea towel, roll each portion into a 12cm diameter disc. Spoon about 2 tablespoons of the beef and vegetable filling onto one half of each disc. Fold the other half over the filling and pinch the edges tightly to seal the pies. Repeat with all dough pieces and filling.
- Deep-Fry the Piroshki: Pour enough vegetable oil into a wok or large saucepan to come halfway up the sides and heat over medium-high heat. Fry the piroshki in batches, turning occasionally, for 2-3 minutes or until puffed up and golden brown on all sides. Use a slotted spoon to transfer them to a tray lined with paper towels to drain excess oil. Serve warm.
Notes
- Ensure the water for the dough is warm but not hot to activate the yeast properly.
- You can substitute beef mince with ground pork or a mixture of both.
- For a lighter version, bake the piroshki in a preheated oven at 200°C (392°F) for 20-25 minutes instead of deep-frying.
- Make sure the filling is completely cooled before assembling to prevent the dough from becoming soggy.
- The piroshki can be frozen before frying. Freeze them on a tray until firm, then transfer to a freezer-safe bag. Fry directly from frozen, adding extra cooking time.
- Serve piroshki with sour cream or a dipping sauce of your choice for added flavor.
- Prep Time: 20 minutes
- Cook Time: 20 minutes
- Category: Snack, Appetizer
- Method: Deep-frying
- Cuisine: Russian
Nutrition
- Serving Size: 1 piroshki (approx. 80g)
- Calories: 210 kcal
- Sugar: 2 g
- Sodium: 280 mg
- Fat: 12 g
- Saturated Fat: 4 g
- Unsaturated Fat: 6 g
- Trans Fat: 0 g
- Carbohydrates: 16 g
- Fiber: 2 g
- Protein: 10 g
- Cholesterol: 40 mg

