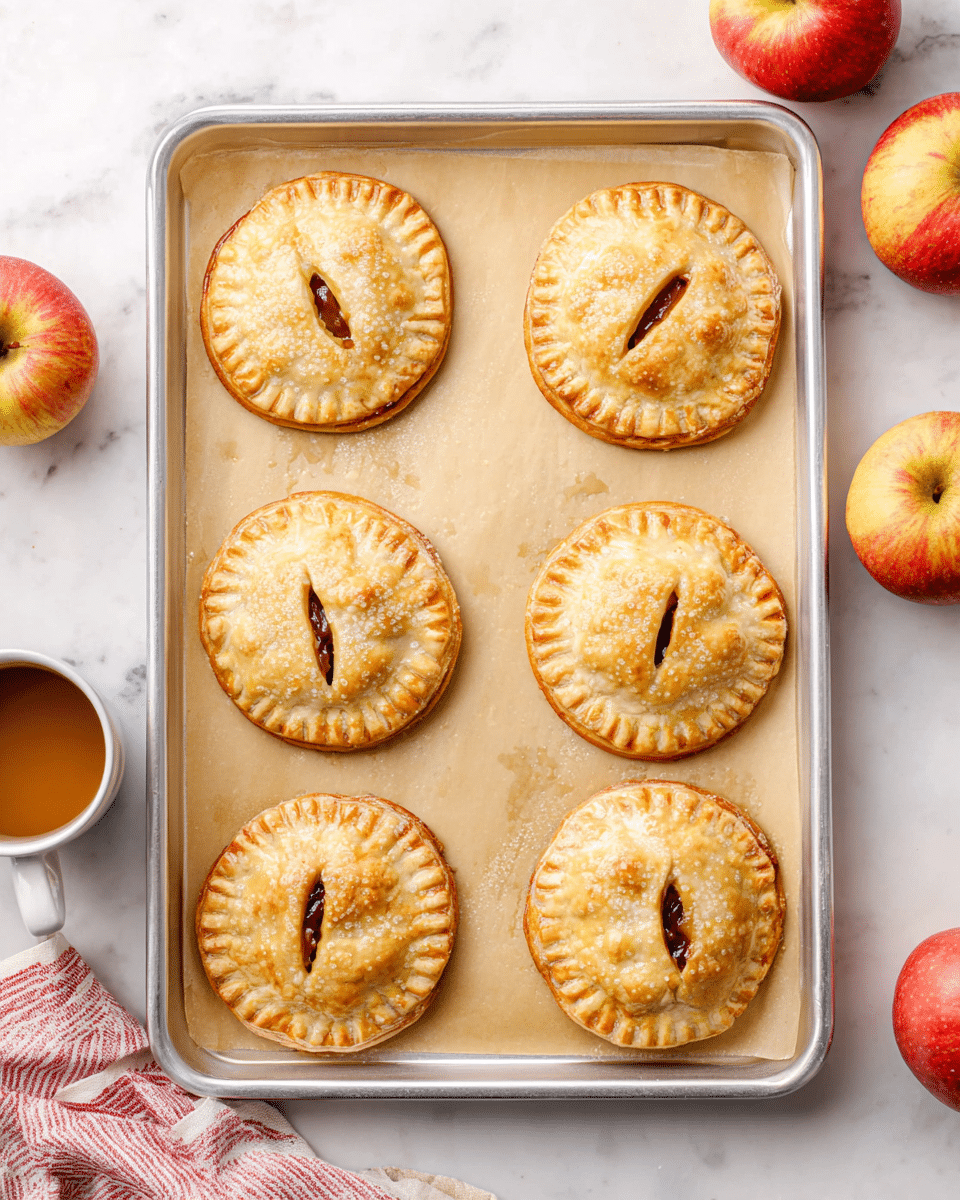
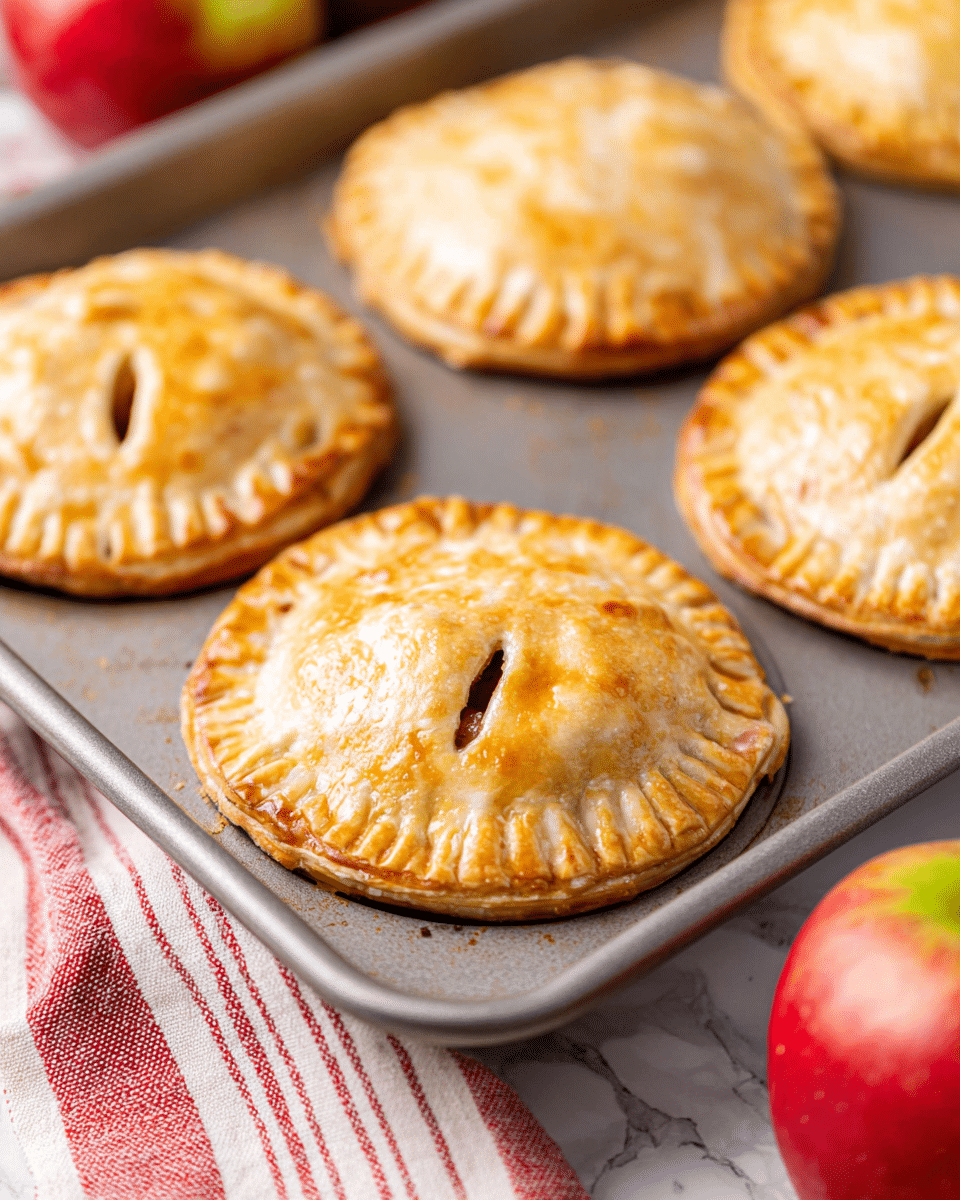
If you are craving a cozy, delightful treat that fits perfectly in the palm of your hand, these homemade Caramel Apple Hand Pies Recipe are exactly what you need. Bursting with tender Honeycrisp apples bathed in luscious caramel and wrapped inside a buttery, flaky crust, each bite feels like the best parts of a classic apple pie transformed into a charming, portable dessert. This recipe is so approachable yet impressively delicious, it’s sure to become a staple for fall gatherings or anytime you want a little sweet comfort in a handy package.
Ingredients You’ll Need

The beauty of this Caramel Apple Hand Pies Recipe lies in its simplicity. Each ingredient not only adds flavor but also builds layers of texture and richness that make these pies uniquely satisfying. From crisp apples to silky caramel and that irresistible pie crust, every component plays an essential role.
- 2 small Honeycrisp apples peeled, cored, and diced (about 1 ½ cups): These apples offer a perfect balance of sweetness and tartness that holds up well to cooking.
- ⅓ cup caramel syrup: Adds a rich, gooey sweetness that defines the character of the filling.
- ⅓ cup dark brown sugar lightly packed: Brings deep molasses notes and helps achieve a beautifully caramelized flavor.
- ¼ cup (½ stick) salted butter: Creates a luscious mouthfeel and enhances the overall richness of the pie filling.
- ½ tsp allspice: Adds subtle warmth and complexity, elevating the spiced apple notes.
- 14.1 ounce package premade refrigerated pie crust (2 separate crusts): Saves time and ensures a perfectly flaky, buttery exterior.
- 1 large egg: Used to create a glossy, golden finish on the pies after baking.
- 1 tbsp heavy cream: Mixed with the egg for a smooth egg wash that helps the crust brown evenly and beautifully.
How to Make Caramel Apple Hand Pies Recipe
Step 1: Prepare the Filling
Begin by combining the diced Honeycrisp apples, caramel syrup, brown sugar, salted butter, and allspice in a medium skillet. Cook this mixture over medium-high heat until the apples become fork tender, about five minutes. This step transforms the fruit into a warm, fragrant filling bursting with caramelized flavor. Once ready, remove from heat and let it cool for 10 minutes to make sure it’s easy to handle without burning yourself.
Step 2: Prepare the Pie Crust
While the filling cools, preheat your oven to 400 degrees Fahrenheit and line sheet pans with parchment paper. Lay out the two pie crusts on a lightly floured surface, and gently roll them out just enough to slightly flatten. Using a large cookie cutter or sandwich sealer, cut out 8 circles per crust—these will be your mini hand pies. Press the cookie cutter gently into the bottom crust to mark exactly where the filling will go.
Step 3: Assemble the Hand Pies
Spoon about 1 ½ tablespoons of the cooled apple mixture onto each marked circle on the bottom crust. Carefully lay the other pie crust over the filling circles, making sure there’s enough dough around each to seal properly. Use a sandwich sealer or a fork to press and seal the edges tightly, preventing any leaks during baking. Don’t forget to cut three small slits in the top crust of each hand pie to allow steam to escape.
Step 4: Add the Finishing Touches and Bake
Mix the egg and heavy cream together to create a glossy egg wash, which you’ll brush over each pie. This step is essential for achieving those gorgeous, golden brown tops that make these hand pies look irresistible. Place the pies on prepared sheet pans and bake them for 13 to 16 minutes or until beautifully golden and crisp. Once done, allow them to cool just enough before serving to enjoy that warm, gooey filling without burning your fingers.
How to Serve Caramel Apple Hand Pies Recipe

Garnishes
To elevate your Caramel Apple Hand Pies Recipe, consider a light dusting of powdered sugar or a drizzle of extra caramel sauce right before serving. A sprinkle of finely chopped toasted pecans or walnuts adds delightful crunch and a lovely nutty contrast. If you’re feeling indulgent, a scoop of vanilla bean ice cream or a dollop of lightly whipped cream makes each bite even more heavenly.
Side Dishes
While these hand pies are delicious on their own, pairing them with a warm cup of spiced chai tea or a hot caramel latte creates a cozy fall-inspired experience. For a more substantial dessert spread, serve alongside saltine crackers topped with sharp cheddar cheese to balance the sweetness with a salty bite—a surprisingly perfect combo!
Creative Ways to Present
Thinking outside the box for dessert presentation can make your Caramel Apple Hand Pies Recipe even more special. Arrange them on a rustic wooden board layered with fresh autumn leaves or a plaid cloth for seasonal charm. You could also skewer several mini pies on sticks for a playful, portable party treat, or stack them in a pyramid with a caramel drizzle cascading down like a dessert centerpiece.
Make Ahead and Storage
Storing Leftovers
If you find yourself with leftover Caramel Apple Hand Pies, don’t worry—they hold up well! Store them in an airtight container at room temperature for up to two days to maintain that tender, flaky crust. For longer storage, refrigerate for up to five days, though the crust may lose a bit of its crispness.
Freezing
You can freeze these delightful hand pies either before or after baking. To freeze unbaked pies, assemble and seal them, place on a tray in the freezer until firm, then transfer to a freezer-safe bag for up to one month. For baked pies, wrap them tightly and freeze similarly. This makes it easy to enjoy homemade fall flavors anytime—just thaw and reheat when ready!
Reheating
To bring your Caramel Apple Hand Pies Recipe back to life, reheat in an oven set to 350 degrees Fahrenheit for about 10 minutes if thawed, or 20 minutes if frozen, until warm and crisp again. Avoid microwaving if possible, since it can make the crust soggy. The oven’s dry heat works wonders to restore that flaky, golden perfection!
FAQs
Can I use other types of apples for this recipe?
Absolutely! While Honeycrisp apples are perfect for their sweet-tart balance and texture, you can also use Granny Smith for more tartness or Fuji for extra sweetness. Just make sure to choose firmer apples that hold up well during cooking.
Can I make the dough from scratch instead of using premade pie crust?
Yes, homemade pie dough works beautifully if you prefer! Just roll it out to about ⅛ inch thickness and proceed with the assembly as directed. Fresh dough adds even more buttery flavor and flakiness.
What can I substitute for caramel syrup?
If you don’t have caramel syrup on hand, you can melt caramel candies with a splash of cream, or substitute with dulce de leche. Maple syrup can work in a pinch but will provide a different flavor profile.
How do I prevent the filling from making the crust soggy?
Cooking the apples down until tender and cooling the filling before assembly is key. This reduces excess moisture. Also, sealing the edges well and adding ventilation slits allows steam to escape during baking.
Can these pies be made gluten-free?
Yes! Use a gluten-free pie crust available at many stores or make your own. Just ensure the crust is sturdy enough to hold the filling without cracking, and follow the same assembly steps.
Final Thoughts
I truly hope you give this Caramel Apple Hand Pies Recipe a try because it’s a delightful way to capture the spirit of fall in a neat, handheld bite. It’s simple enough for a weekday treat but special enough to impress guests or share with loved ones. Once you taste that warm apple filling wrapped in buttery crust, you’ll understand why these hand pies are so treasured. Happy baking and even happier eating!
Print
Caramel Apple Hand Pies Recipe
- Total Time: 40 minutes
- Yield: 16 hand pies (serves 6)
Description
Caramel Apple Hand Pies are delightful mini pie pouches filled with a sweet and spiced apple mixture, wrapped in a flaky pastry crust. These handheld treats combine the best flavors of apple pie with the convenience of a perfectly portioned dessert, baked until golden and delicious.
Ingredients
Apple Filling
- 2 small Honeycrisp apples, peeled, cored, and diced (about 1 ½ cups)
- ⅓ cup caramel syrup
- ⅓ cup dark brown sugar, lightly packed
- ¼ cup (½ stick) salted butter
- ½ tsp allspice
Pie Crust & Topping
- 14.1 ounce package premade refrigerated pie crust (includes 2 separate pie crusts)
- 1 large egg
- 1 tbsp heavy cream
Instructions
- Preheat Oven: Preheat your oven to 400 degrees Fahrenheit and line two sheet pans with parchment paper to prevent sticking and ensure easy cleanup.
- Make Apple Filling: In a medium skillet, combine diced Honeycrisp apples, caramel syrup, dark brown sugar, salted butter, and allspice. Cook over medium-high heat until apples are fork tender, about 5 minutes. Remove from heat and allow to cool for 10 minutes until warm but not hot.
- Prepare Pie Crust: On a floured surface, lay out the pie crusts and gently flatten slightly with a rolling pin. Use a large 3 to 4-inch cookie cutter or sandwich sealer to mark 8 circles on the bottom crust, making indents to guide where filling will go.
- Fill Pies: Spoon about 1 ½ tablespoons of the cooled apple filling onto each circle indent on the bottom crust.
- Top & Seal Pies: Place the second pie crust over the filled bottom crust, aligning it to cover all circles. Press gently around each apple filling mound to seal. Cut out individual pies using a sandwich sealer or cookie cutter, sealing edges with a fork if needed.
- Add Ventilation: Cut three small slits in the top of each pie to allow steam to escape during baking.
- Apply Egg Wash: Whisk together the egg and heavy cream to create an egg wash. Brush evenly over the tops of each hand pie to promote browning.
- Bake: Place the pies on the prepared sheet pans and bake in the preheated oven for 13-16 minutes, or until the tops are golden brown.
- Cool & Serve: Let the hand pies cool on the sheet pans before removing and serving to ensure the filling sets and to avoid burning.
Notes
- Ensure the apple filling is warm but not hot before assembling to prevent the crust from becoming soggy.
- Use a sharp cookie cutter or sandwich sealer for clean pie edges and easier sealing.
- Serves 6, making 16 small hand pies in total (8 per crust).
- Store leftovers in an airtight container and reheat gently before serving.
- Feel free to substitute Honeycrisp apples with Granny Smith or Gala for varying sweetness and tartness.
- Prep Time: 20 minutes
- Cook Time: 20 minutes
- Category: Dessert
- Method: Baking
- Cuisine: American


