If you are looking for a crowd-pleasing treat that combines creamy peanut butter, crunchy candy bars, and rich chocolate, you have to try this Butterfinger Balls Recipe. These delightful little bites pack irresistible flavors and textures into every mouthful, making them perfect for holiday gatherings, parties, or just a sweet indulgence at home. Once you make them, you’ll find it hard to stop at just one because the buttery peanut base paired with crispy Butterfinger pieces covered in smooth chocolate is simply out of this world.
Ingredients You’ll Need
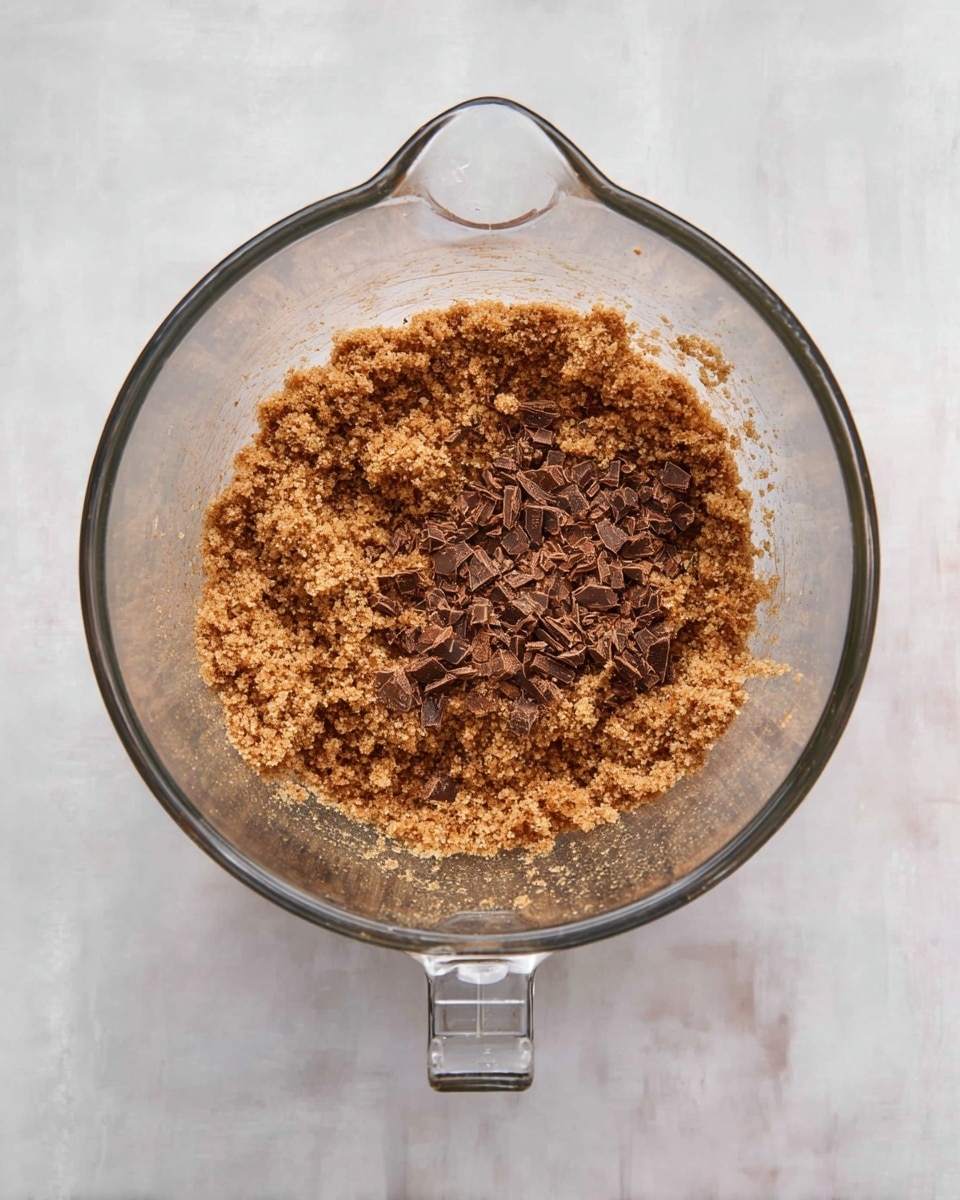
This Butterfinger Balls Recipe is wonderfully simple, featuring a handful of ingredients that work beautifully together to deliver that perfect balance of creamy, crunchy, and chocolatey goodness. Each component plays a key role in building the texture and flavor that make these treats unforgettable.
- 1 cup creamy peanut butter: The creamy base that adds rich, nutty flavor and binds everything together.
- 4 tablespoons softened butter (½ stick): Adds smoothness and depth to the mixture, enhancing the overall richness.
- 1 teaspoon vanilla extract: Gives a subtle aromatic sweetness that brightens the flavor profile.
- 1 cup powdered sugar: Adds sweetness and helps firm up the dough for easy rolling.
- ¾ cup graham cracker crumbs: Introduces a gentle crunch and a hint of honeyed warmth.
- ½ cup crushed Butterfinger bars: Delivers that signature crispy candy bar texture and chocolate-peanut butter combo.
- 8 ounces chocolate bark or chocolate chips: For coating the balls, providing a luscious chocolate shell.
- Garnish options: Additional crushed Butterfingers, holiday sprinkles, or coarse sea salt to add a final festive and flavor-packed touch.
How to Make Butterfinger Balls Recipe
Step 1: Mix the Peanut Butter Base
Start by combining the creamy peanut butter and softened butter in a medium bowl. Use an electric mixer on medium speed to blend them together until smooth and well combined. This step ensures your base has that luscious, creamy texture that makes the Butterfinger Balls so delicious.
Step 2: Add Vanilla and Powdered Sugar
Next, stir in the vanilla extract until fully incorporated. Then gradually add the powdered sugar in batches, mixing on low speed so nothing gets messy. You want a sweet yet firm dough that’s easy to work with. Be sure to scrape down the sides of your bowl occasionally to keep everything evenly mixed.
Step 3: Incorporate Graham Cracker Crumbs and Crushed Butterfingers
Gently fold in the graham cracker crumbs along with the chopped Butterfinger pieces. This is the magic moment when the dough gains a lovely crunch and that unmistakable Butterfinger flavor. Stir carefully so you don’t crush the bits too much—those little crispy nuggets are what make each bite exciting!
Step 4: Form and Chill the Balls
Line a cookie sheet with parchment paper, then scoop out about 1 to 1 ½ tablespoons of dough and roll it into smooth, round balls. Place them on the prepared sheet, spacing them nicely. Pop the tray into your freezer for about 30 minutes to firm up completely—this chilling step is essential for easy dipping later on.
Step 5: Melt the Chocolate
While your peanut butter balls chill, melt the chocolate bark or chips in a microwave-safe bowl. Heat in 30-second bursts at 50% power, stirring between intervals. Remove when a few chunks remain and stir until silky smooth. This gentle melting technique keeps the chocolate from burning, giving you a perfect coating every time.
Step 6: Dip and Decorate
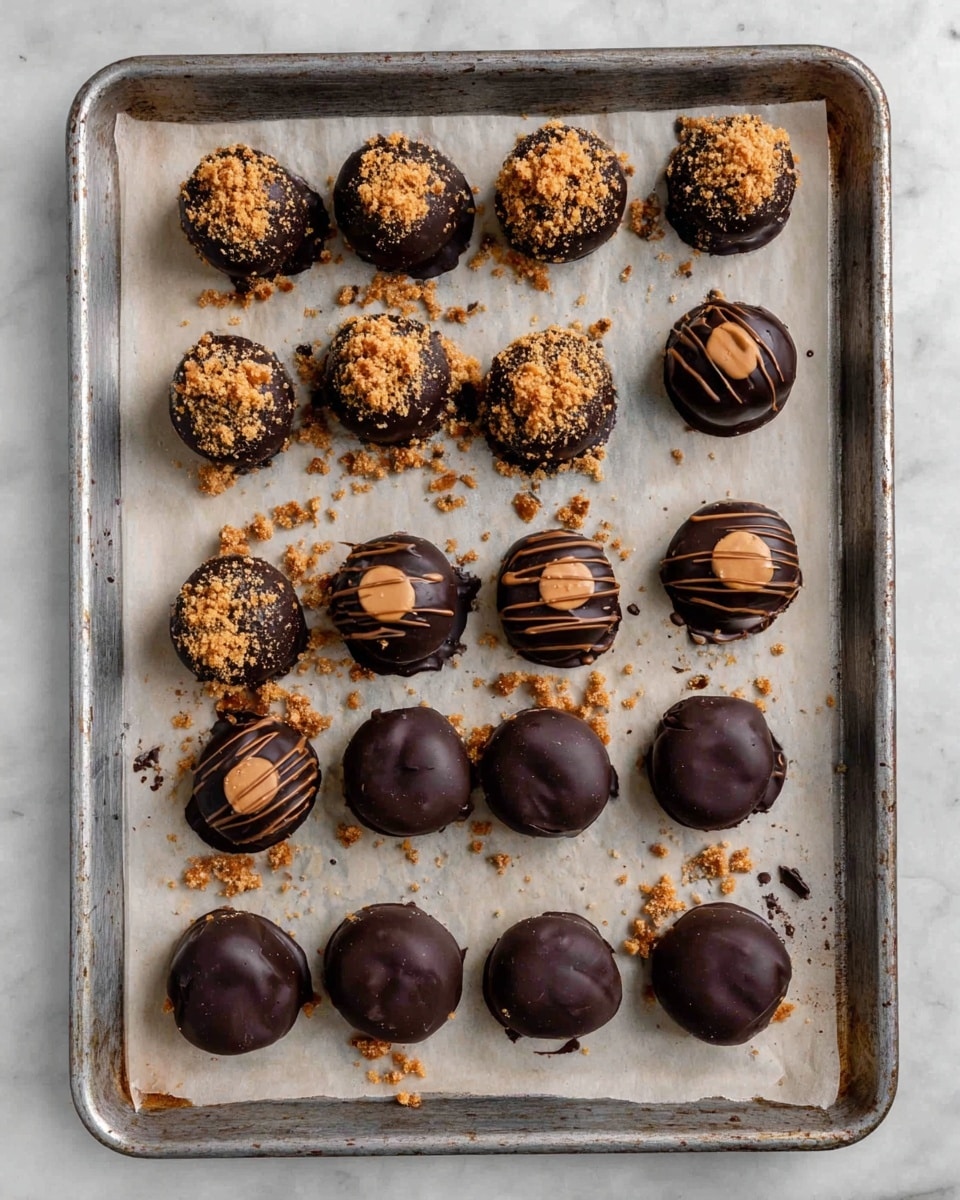
Once the Butterfinger balls are chilled, dip each one into the melted chocolate. You can choose to cover them completely or leave a little of the peanut butter interior visible for a peek of that creamy goodness. Sprinkle with extra crushed Butterfingers, festive holiday sprinkles, or a pinch of flaky sea salt while the coating is still wet. Let them set fully before serving.
How to Serve Butterfinger Balls Recipe
Garnishes
A little garnish goes a long way in making these Butterfinger Balls look as good as they taste. Additional crushed Butterfinger pieces add extra crunch and sweetness on top, while colorful sprinkles provide a festive holiday vibe. For a sophisticated twist, a sprinkle of flaky sea salt enhances the chocolate’s richness and balances the sweetness beautifully.
Side Dishes
These butterfinger treats are sweet stars on their own, but they pair wonderfully with a scoop of vanilla ice cream or fresh berries for a contrasting freshness. If you’re serving dessert on a platter, consider adding some salty nuts or pretzels for guests who love a sweet-and-salty experience.
Creative Ways to Present
Want to make your Butterfinger Balls even more special? Present them in mini cupcake liners or arrange them on a festive tray with decorative parchment paper. You can also thread them onto skewers with marshmallows and strawberries for a fun dessert kabob, perfect for parties or gifting in pretty boxes.
Make Ahead and Storage
Storing Leftovers
If you’re lucky enough to have leftovers, store the Butterfinger balls in an airtight container in the refrigerator. They keep well for up to one week, maintaining their delightful texture and flavor. Just remember to bring them to room temperature a little before serving, so the chocolate softness returns.
Freezing
Butterfinger Balls freeze beautifully! Place them on a baking sheet to freeze solid first, then transfer to a sealed freezer-safe container or bag. They can be frozen for up to 3 months without losing quality, making this recipe perfect for prepping ahead for holidays or special occasions.
Reheating
When you’re ready to enjoy frozen Butterfinger Balls, thaw them overnight in the refrigerator. If desired, let them sit at room temperature for 15 to 20 minutes before serving to soften the chocolate shell slightly and bring out the best flavor and texture.
FAQs
Can I use crunchy peanut butter instead of creamy?
You can, but creamy peanut butter provides a smoother, more cohesive base that’s easier to work with in this Butterfinger Balls Recipe. Crunchy peanut butter will add texture but might make rolling the balls a bit more difficult.
What if I can’t find Butterfinger bars?
If Butterfinger bars are unavailable, you can substitute with any crunchy peanut butter candy bars or even chopped peanut brittle for a similar texture and flavor profile. Just be sure to crush them roughly so they provide that wonderful crunch.
Is it okay to substitute the chocolate bark with regular chocolate chips?
Absolutely! Regular chocolate chips melt just as well and make a perfect coating. For a smoother dip, consider using high-quality semisweet or milk chocolate chips, depending on your taste preference.
Can I make these nut-free?
This recipe relies heavily on peanut butter and Butterfinger bars, which contain nuts, so it’s not suitable for those with nut allergies. For a nut-free alternative, consider using sunflower seed butter and nut-free candy bars, but the texture and flavor will differ.
How long does it take to make Butterfinger Balls from start to finish?
The entire process takes about 45 minutes, including chilling time. Active prep is only around 15 minutes, making it a quick yet impressive treat to whip up anytime.
Final Thoughts
There’s something truly special about the combination of creamy peanut butter, crunchy Butterfinger candy, and silky chocolate that makes this Butterfinger Balls Recipe an instant favorite. Whether you’re making them for a holiday party or a cozy night in, these delicious morsels are guaranteed to bring smiles and maybe even a little happy dancing at the first bite. So, grab your ingredients and treat yourself to some buttery bliss—you won’t regret it!
Print
Butterfinger Balls Recipe
- Total Time: 45 minutes
- Yield: 20 balls
Description
Butterfinger Balls are delicious bite-sized desserts combining creamy peanut butter, graham crackers, and crushed Butterfinger candy bars, all coated in smooth melted chocolate. Perfect for parties and holiday gatherings, these no-bake treats are easy to make and sure to disappear fast.
Ingredients
Main Ingredients
- 1 cup creamy peanut butter (not all natural types)
- 4 tablespoons butter, softened (½ stick)
- 1 teaspoon vanilla extract
- 1 cup powdered sugar
- ¾ cup graham cracker crumbs
- ½ cup crushed Butterfinger bars
- 8 ounces chocolate bark or chocolate chips
Garnish
- Additional crushed Butterfingers
- Holiday sprinkles or coarse salt (optional)
Instructions
- Mix Peanut Butter and Butter: In a medium bowl, add the peanut butter and softened butter. Beat with an electric mixer on medium speed until well combined. Alternatively, a stand mixer with a paddle attachment can be used.
- Add Vanilla Extract: Pour in the vanilla extract and blend until fully incorporated.
- Add Powdered Sugar: Gradually add the powdered sugar in batches, blending on low speed. Scrape down the sides of the bowl occasionally to ensure even mixing.
- Fold in Dry Ingredients: Gently stir in the graham cracker crumbs and crushed Butterfinger bars until evenly combined.
- Shape the Balls: Line a large cookie sheet with parchment paper. Scoop 1 to 1½ tablespoons of the mixture and roll into smooth balls. Place them on the prepared cookie sheet.
- Chill the Balls: Place the cookie sheet in the freezer for about 30 minutes to firm up completely.
- Melt the Chocolate: Melt the chocolate in a microwave-safe bowl, heating at 50% power in 30-second intervals. Stir between intervals and remove from microwave when a few chunks remain, then stir until smooth to avoid overheating.
- Dip the Balls: Dip each chilled ball into the melted chocolate, coating fully or partially as desired.
- Add Garnish: Sprinkle additional crushed Butterfingers, holiday sprinkles, or flakey sea salt over the chocolate-coated balls for extra flavor and decoration.
- Set the Chocolate: Allow the chocolate coating to set completely before serving. Enjoy your delicious Butterfinger Balls!
Notes
- Use creamy peanut butter for the best texture; avoid natural types that separate easily.
- Chilling the mixture before dipping ensures the balls hold their shape during coating.
- Be careful not to overheat the chocolate when melting; stirring frequently helps prevent burning.
- These treats can be stored in an airtight container in the refrigerator for up to one week.
- For a dairy-free version, substitute butter and chocolate with vegan alternatives.
- Prep Time: 15 minutes
- Cook Time: 0 minutes
- Category: Dessert
- Method: No-Cook
- Cuisine: American

