If you’ve ever loved the gooey, melty goodness of classic grilled cheese sandwiches, then you are going to be absolutely thrilled by this Cheesy Grilled Cheese Roll-Ups Recipe. It takes everything you adore about grilled cheese and wraps it up into neat, bite-sized rolls that are crisped to golden perfection. These roll-ups make for a quick snack, a fun party treat, or an easy comfort food fix that’s both simple and irresistible. Whether for kids or adults, this Cheesy Grilled Cheese Roll-Ups Recipe will quickly become your new favorite way to enjoy an all-time classic.
Ingredients You’ll Need
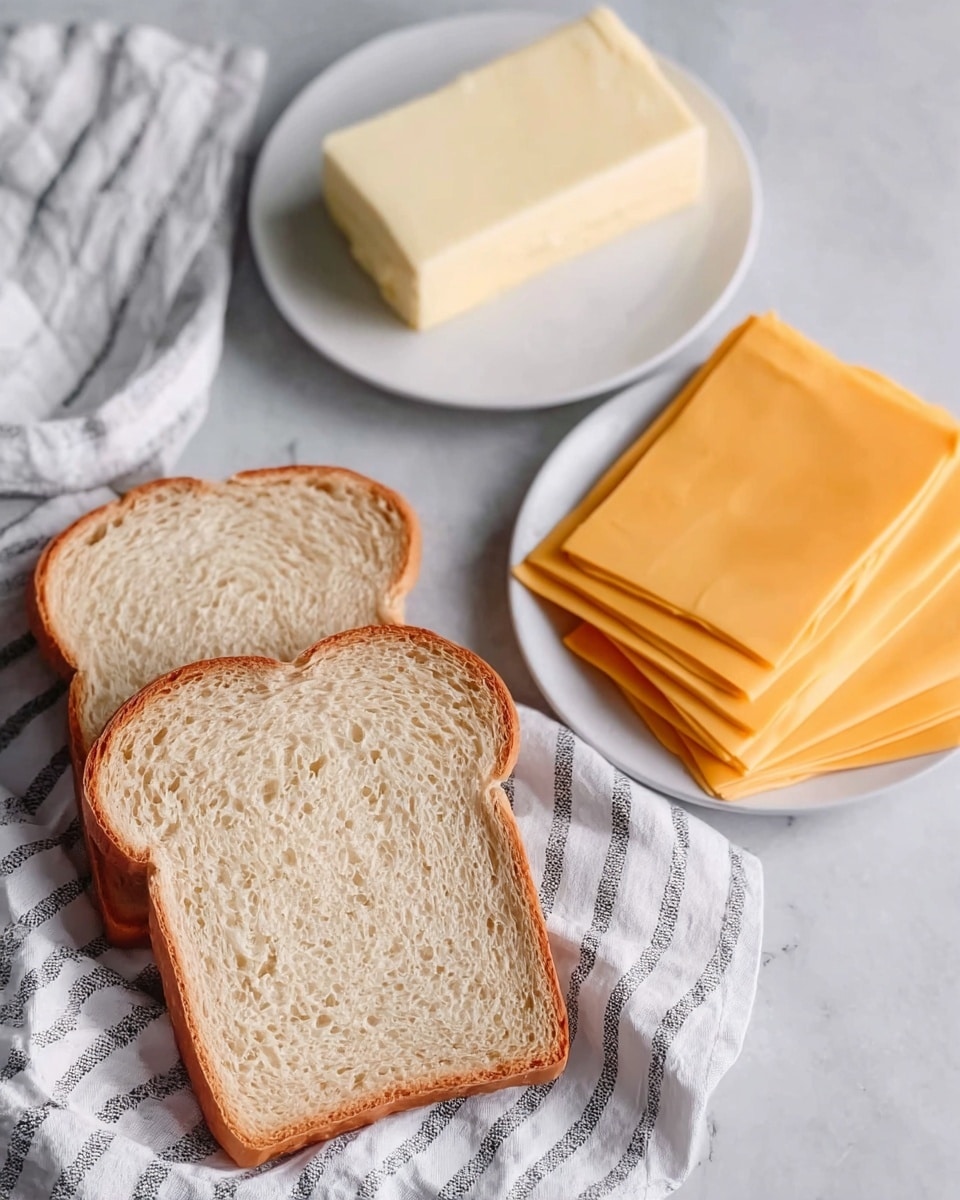
The beauty of this recipe lies in its simplicity. You only need a few key ingredients, each chosen to create the perfect balance of flavor and texture—from the soft, pliable bread to the sharp, melty cheese, all brought together with a touch of buttery crispiness on the outside.
- White bread, crusts removed: Soft and easy to roll, fresh bread works best to prevent cracking.
- Sharp cheddar cheese (or Monterey Jack, Colby, Swiss): Pick your favorite for melty, flavorful cheese inside each roll-up.
- Melted butter: Adds a golden crisp exterior and lovely buttery flavor as they cook.
How to Make Cheesy Grilled Cheese Roll-Ups Recipe
Step 1: Flatten the Bread
Start by removing the crusts from each slice of white bread to make rolling easier. Then, use a rolling pin to gently flatten each slice until it’s about half its original thickness. This helps the bread roll around the cheese smoothly without tearing or cracking.
Step 2: Add the Cheese and Roll
Place one slice of your chosen cheese—or about 2 to 3 tablespoons of grated cheese—right on the flattened bread. Roll the bread tightly around the cheese, making a neat little cylinder. Secure the roll with a toothpick to keep everything snug and ready for frying.
Step 3: Butter and Cook
Brush melted butter generously over the outside of each roll or quickly roll each one in the butter to coat. Then, place them seam side down on a heated pan over medium heat. Cooking seam side down first allows the roll-up to seal shut. Turn the rolls with tongs frequently until all sides are golden brown and the cheese has melted inside perfectly—about 5 minutes total.
How to Serve Cheesy Grilled Cheese Roll-Ups Recipe
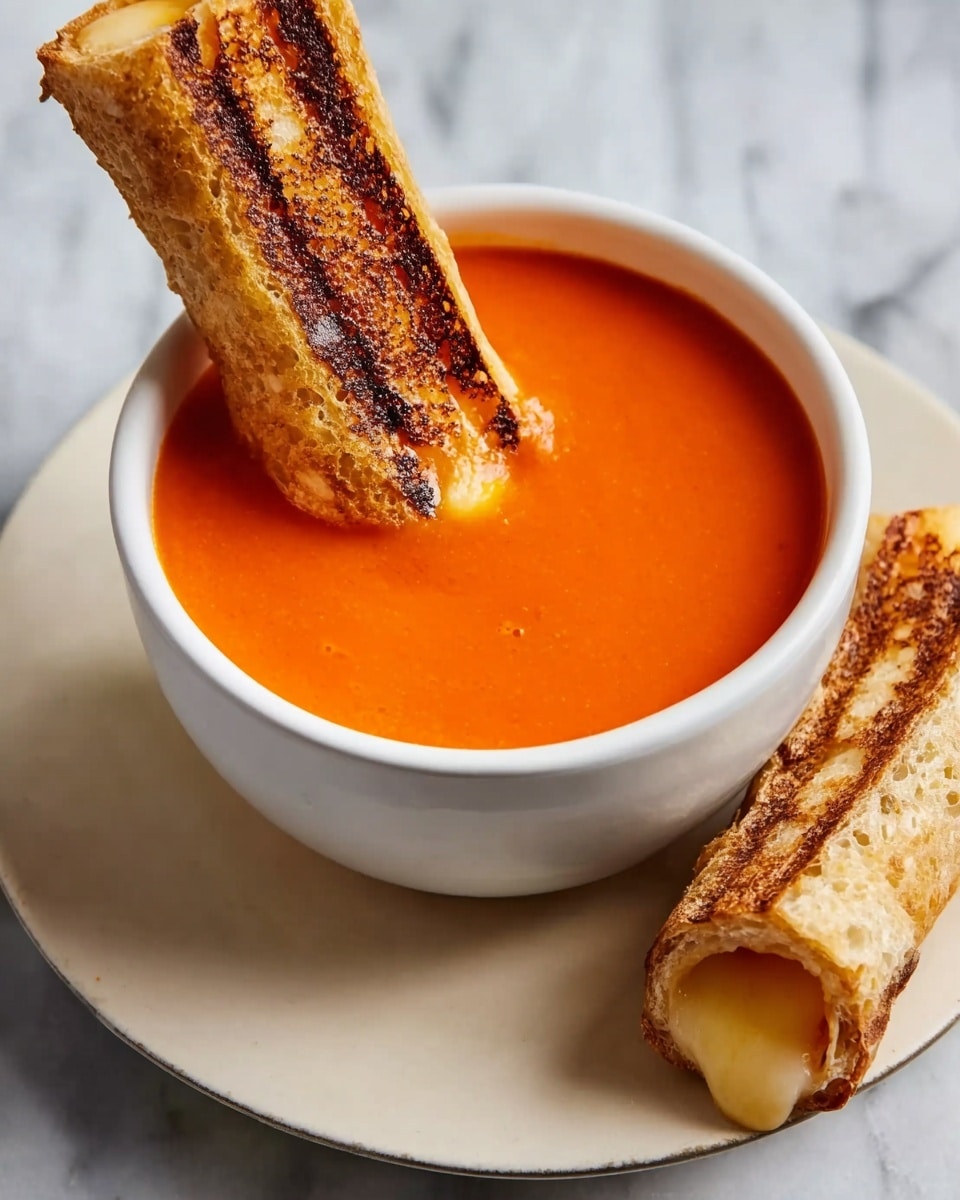
Garnishes
Sprinkle a bit of freshly chopped parsley or chives on top to add a burst of color and a fresh flavor contrast to the warm, cheesy roll-ups. A light dusting of smoked paprika or a drizzle of tomato ketchup makes for a tasty, colorful finishing touch.
Side Dishes
This dish pairs wonderfully with classic sides like tomato soup or a crisp green salad to balance the richness. For a fun twist, serve with an assortment of dipping sauces like honey mustard, sriracha mayo, or garlic aioli to elevate the snack even further.
Creative Ways to Present
Try slicing the roll-ups into bite-sized pinwheels for party platters or kids’ lunchboxes. Stack them on a wooden board alongside pickles and grapes for a casual appetizer spread. You can even thread them on skewers with veggies for an easy-to-eat finger food option that looks as good as it tastes.
Make Ahead and Storage
Storing Leftovers
If you’ve got leftovers (which sometimes happens, but not often!), place the grilled cheese roll-ups in a zippered bag or airtight container and refrigerate for up to 3 days. They keep their flavor and texture beautifully when stored properly.
Freezing
These roll-ups freeze wonderfully. Lay them flat on a baking sheet to freeze individually before transferring to a freezer bag. This way, you can grab as many as you need later, perfect for quick snacks or last-minute meals.
Reheating
To bring back that crispy exterior and melty center, reheat roll-ups in a dry skillet over medium heat or pop them in the air fryer for a few minutes. Avoid microwaving, as this can make the bread soggy and take away from the delightful texture.
FAQs
Can I use whole wheat or gluten-free bread for this recipe?
Absolutely! Whole wheat and gluten-free breads can work, but make sure they are fresh and soft enough to roll without cracking. Thinner-sliced bread tends to work better when rolling.
What cheeses work best in the Cheesy Grilled Cheese Roll-Ups Recipe?
Sharp cheddar is classic, but Monterey Jack, Swiss, and Colby melt beautifully too. Experiment with your favorites or even mix cheeses for a more complex flavor.
How can I make these roll-ups vegetarian-friendly?
This recipe is naturally vegetarian since it uses just bread, cheese, and butter. Just be sure to use butter that fits your dietary choices or substitute with a plant-based spread if preferred.
Can I add extras inside the roll-ups?
Definitely! Sliced tomatoes, cooked bacon, or sautéed mushrooms make delicious additions. Just be mindful to keep the filling dry enough so the bread doesn’t get soggy.
What’s the best way to prevent the roll-ups from unrolling during cooking?
Start cooking them seam side down to seal the edges, and keep the toothpick in place until the rolls are well browned. This locks everything in and helps maintain their shape.
Final Thoughts
There’s something truly comforting and wonderfully fun about this Cheesy Grilled Cheese Roll-Ups Recipe. The way the cheesy center oozes out with each bite, wrapped in crispy, buttery bread, is just pure joy on a plate. Whether you’re serving these as a quick snack, a kids’ lunch treat, or a party appetizer, these roll-ups bring heaps of smiles and satisfied appetites. Give them a try, and I promise they’ll become a favorite you’ll want to make again and again.
Print
Cheesy Grilled Cheese Roll-Ups Recipe
- Total Time: 10 minutes
- Yield: 8 roll-ups
Description
Grilled Cheese Roll-Ups are a fun and easy twist on the classic grilled cheese sandwich, featuring melted cheese rolled up in flattened slices of bread, pan-fried to golden perfection. These bite-sized roll-ups make a perfect snack or quick meal that kids and adults alike will enjoy.
Ingredients
Ingredients
- 8 slices white bread, crusts removed
- 8 slices sharp cheddar cheese or Monterey Jack, Colby, Swiss (your choice)
- Melted butter, as needed for brushing and cooking
Instructions
- Flatten the Bread: Using a rolling pin, roll each slice of bread flat to make it easier to roll without cracking.
- Add Cheese and Roll Up: Place one slice of cheese or 2-3 tablespoons of grated cheddar on each flattened bread slice, then roll tightly and secure with a toothpick to hold the shape.
- Butter the Roll-Ups: Brush the outside of each roll-up with melted butter, or quickly roll them in melted butter for an even coating.
- Cook in Pan: Place the roll-ups seam side down in a pan over medium heat. This helps seal them closed and prevents unrolling.
- Brown and Melt: Cook each roll-up, turning with tongs, until all sides are golden brown and crispy, and the cheese inside is melted. Add additional butter as needed during cooking.
Notes
- Fresh bread works best because older bread tends to dry out and can crack when rolled.
- Start cooking roll-ups seam side down to seal them; once browned, toothpicks can be removed for even cooking.
- You may need to add more melted butter during cooking to keep them from sticking and to enhance browning.
- Store leftover roll-ups in a zippered bag in the refrigerator for up to 3 days; reheat in a dry pan or air fryer for best texture.
- Save crusts by drying and crushing them into breadcrumbs for future recipes.
- Prep Time: 5 minutes
- Cook Time: 5 minutes
- Category: Snack
- Method: Frying
- Cuisine: American

