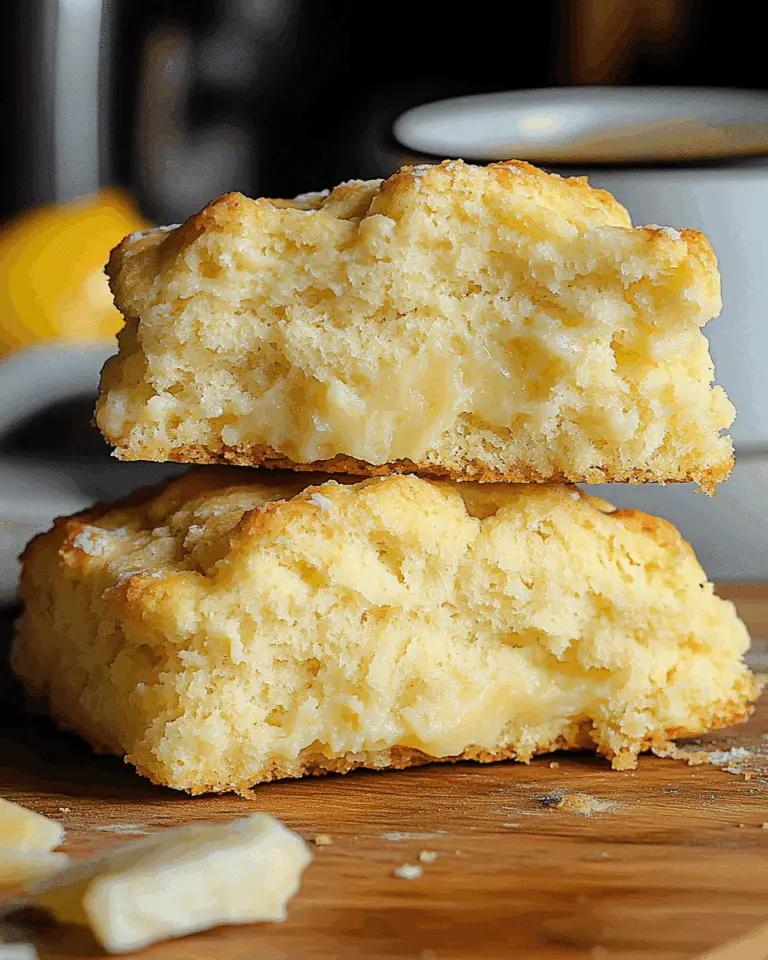
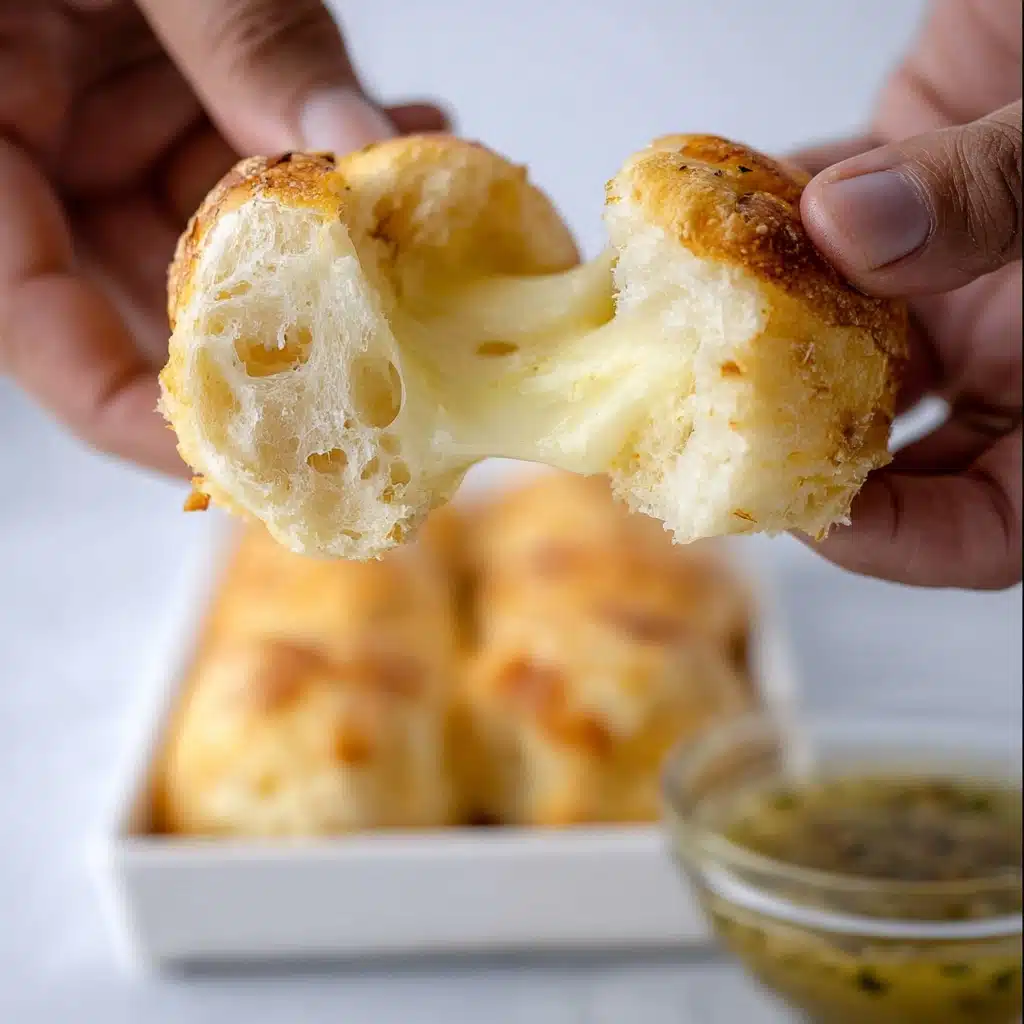
If you are on the hunt for a warm, gooey, and utterly addictive treat, these Cheesy Garlic Biscuit Balls are about to become your new obsession. Imagine soft, pillowy biscuit dough wrapped around melty mozzarella, kissed by rich garlic butter, and finished with a sprinkle of Parmesan cheese that adds just the right touch of savory tang. Every bite is a harmonious blend of cheesy goodness and robust garlic flavor that feels like a comforting hug straight from the oven. Whether you’re serving them as a crowd-pleasing appetizer or a cozy snack, these Cheesy Garlic Biscuit Balls are guaranteed to vanish in no time and keep everyone coming back for more.
Ingredients You’ll Need
These ingredients are delightfully simple yet super important for creating perfect Cheesy Garlic Biscuit Balls. Each one adds a layer of flavor, texture, or aroma that comes together to make every bite unforgettable.
- Grands Biscuits: The soft, flaky biscuit dough forms the golden base that holds all the cheesy goodness inside.
- Mozzarella cheese: Use shredded mozzarella for that stretchy, melty center that makes these bites irresistible.
- Parmesan cheese: A savory sprinkle that adds a sharp, nutty finish on top.
- Unsalted butter: Melted to create a rich garlic butter sauce that coats every biscuit ball.
- Garlic powder: Gives a deep yet gentle garlic flavor that infuses every bite.
- Garlic paste: Adds fresh garlic intensity for an extra punch of taste.
- Italian seasoning: Brings aromatic herbs like oregano and basil, enhancing the overall flavor profile.
- Pinch of salt: Balances the flavors perfectly, especially in the garlic butter glaze.
How to Make Cheesy Garlic Biscuit Balls
Step 1: Preheat and Prepare Your Dough
Start by preheating your oven to a cozy 375 degrees Fahrenheit (187 Celsius). Then, gently split each Grands biscuit in half and stretch them just a little—the goal is to create enough room inside without tearing the dough, so it can hold the cheese snugly without leaking.
Step 2: Stuff with Cheese and Shape
Grab a small handful of shredded mozzarella, roughly one to two teaspoons, and place it right in the center of each biscuit half. Fold the dough over and roll it between your hands to seal the cheese in tight. This helps you achieve those perfectly stuffed cheesy centers that ooze out with each bite.
Step 3: Prepare Your Baking Surface
To ensure the biscuit balls don’t stick, either spray your baking pan liberally with butter spray or coat it with a thin layer of unsalted butter. This step also lends a subtle buttery flavor to the bottoms of the biscuit balls as they bake.
Step 4: Brush with Garlic Butter Sauce
Whisk together melted butter, garlic powder, garlic paste, and Italian seasoning into a glossy garlic butter sauce. Brush each biscuit ball generously with this flavorful mixture—it’s where the magic of garlic-infused richness begins.
Step 5: Add Salt and Parmesan
Sprinkle a pinch of salt and some grated Parmesan cheese over the top of each biscuit ball. This adds a bit of sharpness and an extra savory layer right before baking.
Step 6: Bake Until Golden and Melty
Pop the pan into the oven and bake for about 18 to 20 minutes, starting to peek at around 15 minutes to ensure they don’t overbrown. When they emerge piping hot and golden, brush on another layer of the garlic butter sauce for a shiny, irresistible finish.
How to Serve Cheesy Garlic Biscuit Balls
Garnishes
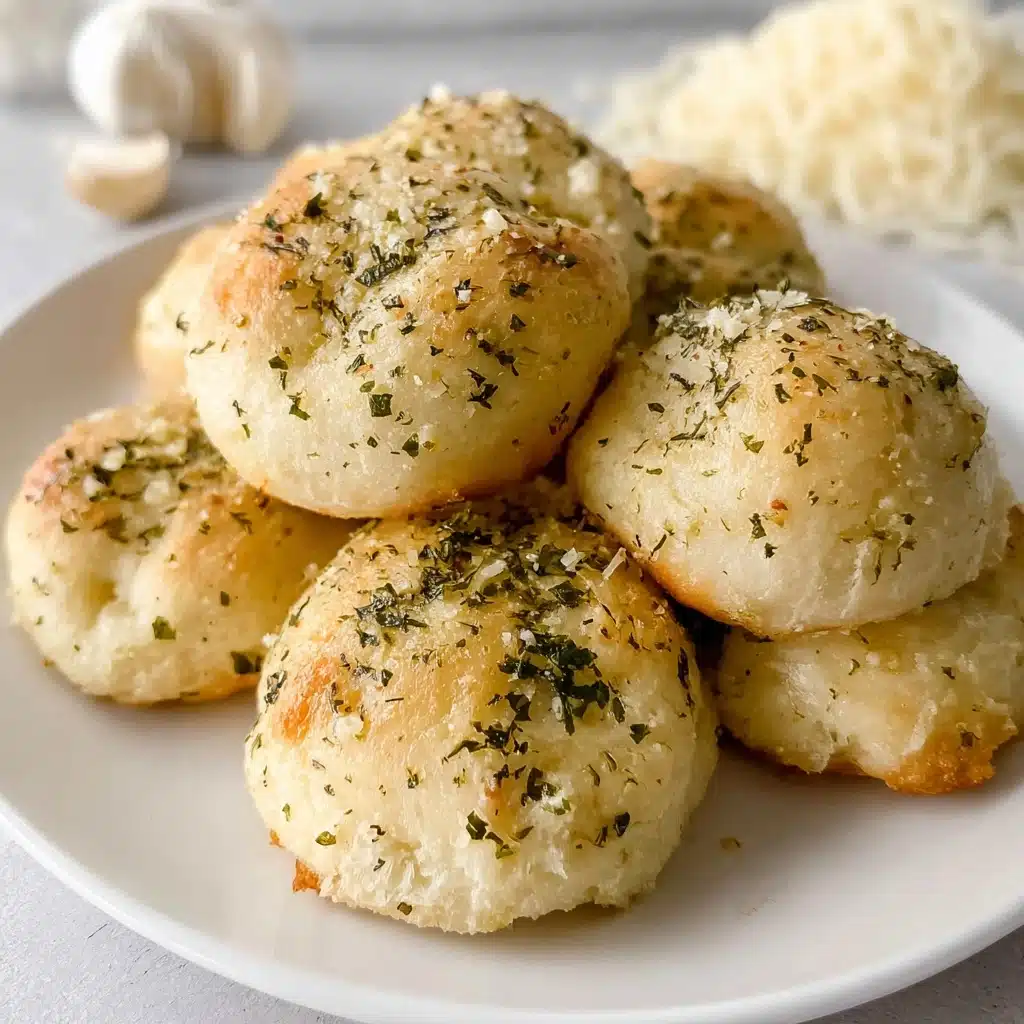
To elevate your Cheesy Garlic Biscuit Balls even more, sprinkle some freshly chopped parsley or chives on top before serving. They add a burst of fresh color and a subtle herbal brightness that complements the rich, garlicky flavors beautifully.
Side Dishes
These biscuit balls pair wonderfully with a crisp green salad or a tangy marinara dipping sauce for contrast. You can also serve them alongside soup or hearty pasta dishes to add a comforting, cheesy component to your meal.
Creative Ways to Present
For a fun party platter, line your biscuit balls on a wooden serving board with small ramekins of garlic aioli, ranch dip, or spicy ketchup. Another crowd-pleasing idea is to thread them onto skewers with cherry tomatoes and fresh basil leaves for a finger-food twist that’s as pretty as it is tasty.
Make Ahead and Storage
Storing Leftovers
If you have any leftover Cheesy Garlic Biscuit Balls, store them in an airtight container at room temperature for up to 24 hours, or refrigerate them for up to 3 days. Keeping them airtight helps maintain their softness and keeps the garlic butter flavor intact.
Freezing
To freeze, after shaping the biscuit balls but before baking, place them on a baking sheet lined with parchment paper and freeze until solid. Then transfer them to a freezer bag or container. When ready to enjoy, bake them straight from frozen—just add a few extra minutes to the baking time.
Reheating
Reheat your Cheesy Garlic Biscuit Balls in a preheated 350-degree Fahrenheit oven for about 8-10 minutes to bring back that fresh-out-of-the-oven warmth and crisp exterior. Avoid microwaving, as it can make the dough soggy and the cheese tough.
FAQs
Can I use other types of cheese in Cheesy Garlic Biscuit Balls?
Absolutely! While mozzarella provides that perfect melt and stretch, you can mix in cheddar, gouda, or pepper jack for different flavor twists. Just be mindful of melting properties to keep the texture right.
Can I make these biscuit balls vegan or dairy-free?
Yes, you can substitute vegan biscuit dough and use plant-based cheese and butter alternatives. The flavor and texture will be slightly different but still delicious—just adjust seasonings to taste.
How do I prevent the cheese from leaking out during baking?
Make sure to gently stretch the biscuit dough enough to wrap the cheese completely, then seal the edges tightly by rolling them well in your hands. Using the right amount of cheese (not too much) helps prevent leaks.
What’s the best dipping sauce for Cheesy Garlic Biscuit Balls?
Marinara sauce is a classic pairing, but garlic ranch, spicy sriracha mayo, or even honey mustard work wonderfully too. Choose a dip that complements the garlic and cheese flavors for an extra treat.
Can I add herbs or spices to the biscuit dough itself?
Definitely! Adding dried herbs like oregano, basil, or a sprinkle of red pepper flakes to the dough can infuse even more flavor directly into the biscuit balls. Just fold them into the dough before stuffing with cheese.
Final Thoughts
There’s something truly special about Cheesy Garlic Biscuit Balls: they combine simple ingredients into a loaded, comforting bite that feels both indulgent and homey. Whether you’re serving them for a casual get-together or a weeknight snack, they’re joyously easy to make and impossible to resist. Give this recipe a try and watch how quickly these cheesy treasures disappear—the smiles and requests for seconds will be your reward!
Print
Cheesy Garlic Biscuit Balls Recipe
- Total Time: 30 minutes
- Yield: 10-12 biscuit balls
- Diet: Vegetarian
Description
Deliciously cheesy garlic biscuit balls made with fluffy biscuit dough, packed with mozzarella and Parmesan cheeses, and coated in a flavorful garlic butter sauce. These bite-sized treats are perfect as appetizers, snacks, or party finger foods.
Ingredients
For the dough:
- 1 can Grands Biscuits (10 count)
- 1 cup shredded mozzarella cheese
- 1/4 cup grated Parmesan cheese
Garlic butter sauce:
- 1–2 tbsp unsalted butter, melted
- 1/2 tsp garlic powder
- 1/4 tsp garlic paste
- 1/2 tsp Italian seasoning
- Pinch of salt
Instructions
- Preheat Oven: Preheat your oven to 375°F (187°C) to ensure it’s ready for baking the biscuit balls evenly.
- Prepare Biscuits: Split each Grands biscuit in half and gently stretch them slightly to make space for the cheese filling without tearing.
- Fill with Cheese: Place about 1-2 teaspoons of shredded mozzarella cheese in the center of each biscuit half. Fold and tuck the dough securely over the cheese, then roll in your hands to seal the cheese inside and prevent leaking during baking.
- Prepare Baking Pan: Lightly grease a baking pan with butter spray (such as Pam) or melted butter to prevent sticking and promote even cooking.
- Make Garlic Butter Sauce: In a small bowl, combine melted unsalted butter, garlic powder, garlic paste, and Italian seasoning. Mix well to create a flavorful garlic buttery mixture.
- Coat Biscuit Balls: Brush each cheese-filled biscuit ball generously with the garlic butter sauce. Sprinkle a pinch of salt over them for extra flavor and finish by sprinkling Parmesan cheese on top.
- Bake: Bake the biscuit balls in the preheated oven for 18-20 minutes or until golden brown, starting to check at around 15 minutes to avoid overcooking.
- Final Touch: Once baked, brush the biscuit balls again with any remaining garlic butter sauce for an extra garlicky finish. Serve warm.
Notes
- Use fresh mozzarella for best melting texture.
- Make sure to seal the biscuit dough well to avoid cheese leakage during baking.
- Adjust garlic powder and paste quantities based on your garlic preference.
- These biscuit balls are best served warm but can be reheated in the oven.
- Optionally, add chopped herbs like parsley after baking for added freshness.
- Prep Time: 10 minutes
- Cook Time: 18-20 minutes
- Category: Snack, Appetizer
- Method: Baking
- Cuisine: American
Nutrition
- Serving Size: 1 biscuit ball
- Calories: 120 kcal
- Sugar: 1 g
- Sodium: 300 mg
- Fat: 7 g
- Saturated Fat: 4 g
- Unsaturated Fat: 2.5 g
- Trans Fat: 0 g
- Carbohydrates: 10 g
- Fiber: 0.5 g
- Protein: 5 g
- Cholesterol: 20 mg

